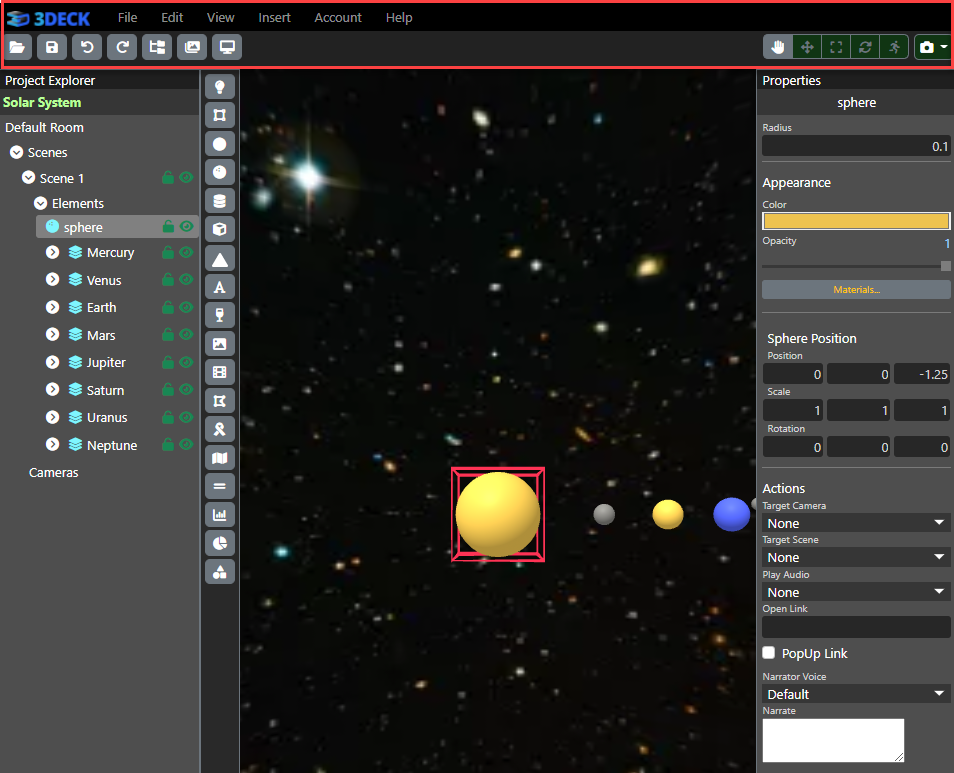
Deck Editor Layout
The editor is divided into four sections:
- the top navigation bar
- the Project Explorer
- the content window, and
- the Properties bar.
The Top Navigation Bar
The top navigation bar contains various ways to interact with the deck.
Under File:
- New... will create a new deck.
- Open... will open up an existing deck.
- Save will save progress on this current deck.
- Save As... will allow you to save the current deck under a new file.
- Save Thumbnail will make the current view in the content window the thumbnail of the file.
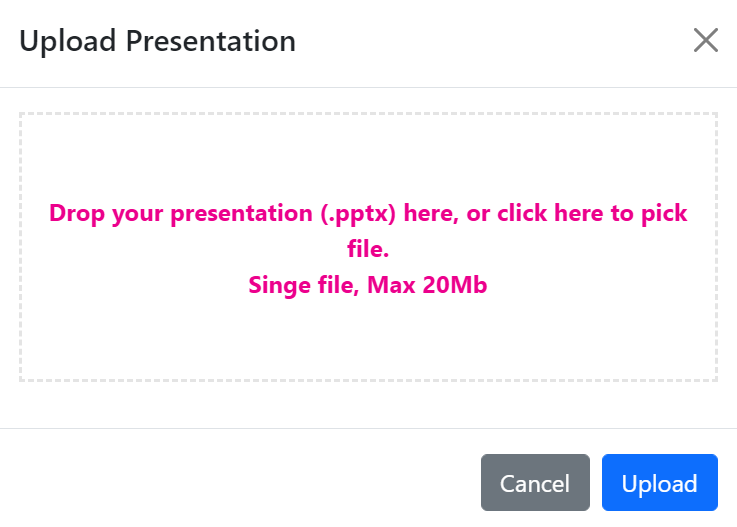
- Import PPTX... will allow you to drop a PowerPoint file into the editor, which will convert it into a basic deck that you can edit from there.
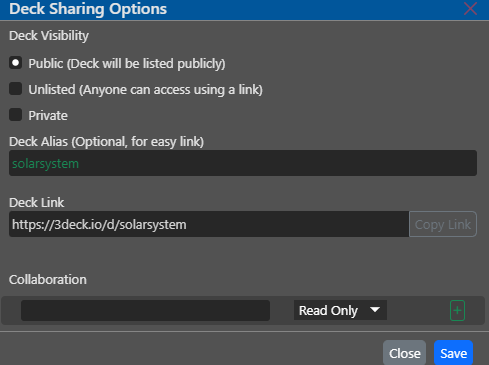
- Sharing will allow you to share the deck. It will open up a pop-up where you can create an alias for easy link-sharing, or where you can share via email with read or edit permissions.
- Deck Options will open up a pop-up where you can enable viewers to record your deck while viewing it. The record button will be displayed at the top for the viewer to use should this box be checked.
- Versions will allow you to load any of the last ten saves of the deck. This allows you to reload away from previous mistakes or do version control easily.
Under Edit:
- Undo, which can also be accessed with the key command "Ctrl+Z".
- Redo, which can also be accessed with the key command "Ctrl+Y".
- Cut, which also can be accessed with the key command "Ctrl+X".
- Copy, which can also be accessed with the key command "Ctrl+C".
- Duplicate, which serves as an all-in-one copy-and-paste, duplicating the element selected.
- Delete, which can also be accessed with the "Delete" key.
- Show Source..., which shows the HTML code making up the scene.
In View:
- Launch Deck will launch the deck preview in the same fashion that you can from the Decks screen. Before launching, you will be asked whether you want to save changes made to the deck so that they can be included in the preview.
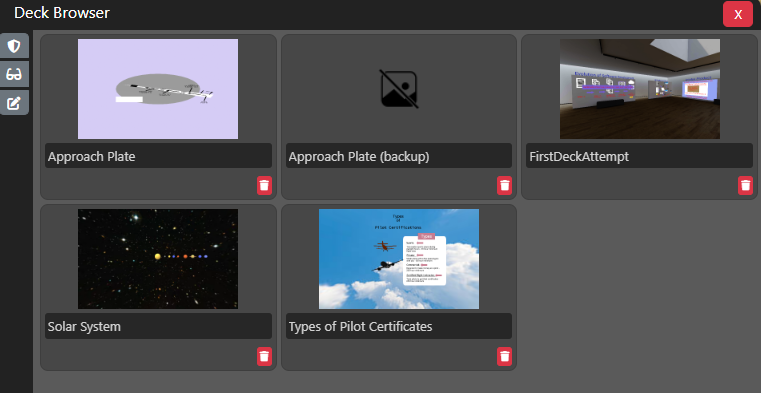
- Deck Browser will allow you to see your decks that could be found on the Decks screen from within the editor.
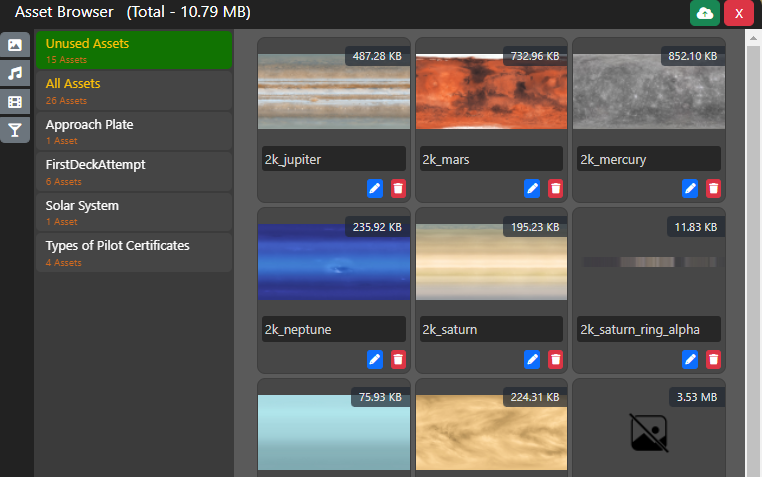
- Asset Browser will allow you to see your decks that could be found on the Assets screen from within the editor. You can filter the assets by file type on the left. You can even upload new assets from the cloud button in the top right.
- Pan, Move, Scale, Rotate can all be read about in detail in the selection tools articles. Animations can be read about here.
- View, which allows you to shift your perspective to pre-set views within the scene.
Insert allows you to create a new scene and insert elements, which can also be accessed from the Project Explorer.
Account allows you to edit your profile from within the editor rather than going back to the dashboard.

Help contains links to these documentation pages, as well as the Privacy Policy and the Terms of Service. It also contains information on keyboard shortcuts.
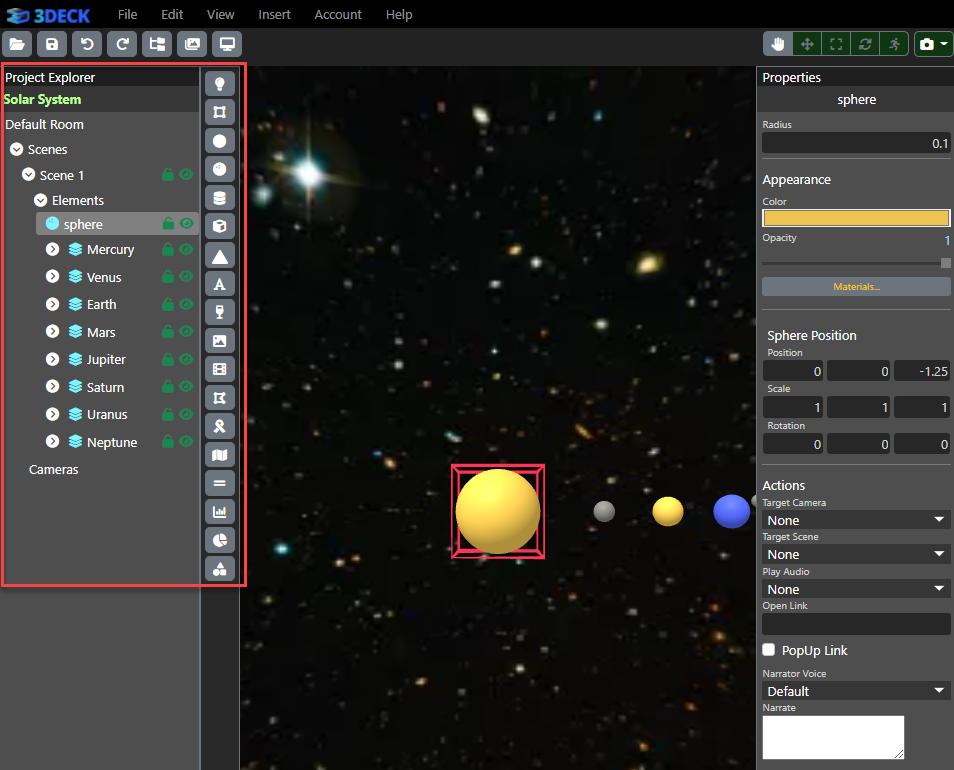
The Project Explorer
The Project Explorer is the name of the left navigation bar that shows all scenes within your deck. Each scene can be expanded to show the elements and cameras contained within. The Project Explorer is also where you can copy, duplicate and group elements.
Next to each element is a lock and eye. By pressing the lock, you can toggle between an element being editable (green lock) vs. locked (red lock). By pressing the eye, you can toggle between an element being visible (green eye), invisible (red eye), or visible in editing but not in preview (yellow dialogue box).
The gray squares along the right contain various elements that the user can insert into the content window. More information about each element can be found here.
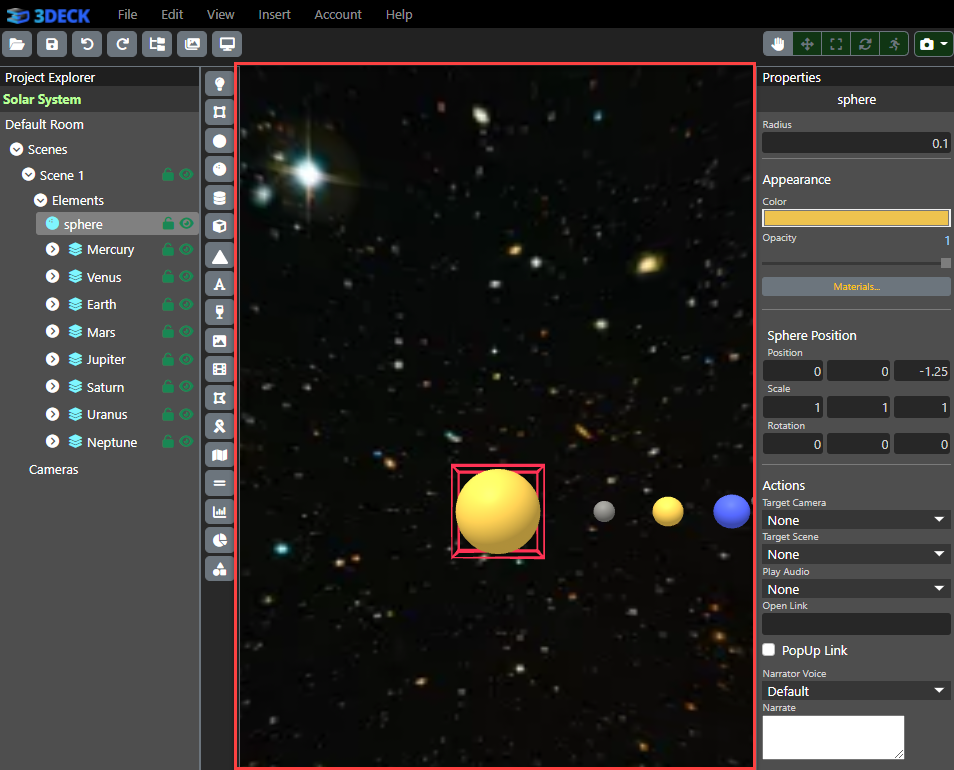
The Content Window
All scenes are shown within the content window, where you can view, select and alter the elements placed therein. The content window is essentially a frozen version of the finished presentation, where animations can play out and the builder can engage from different perspectives.
The Properties Bar
The Properties bar is the name of the right navigation bar that allows you to edit elements selected from the Project Explorer or content window. From here, you can edit object properties, such as text, color, opacity, materials, position, scale and rotation and actions.
